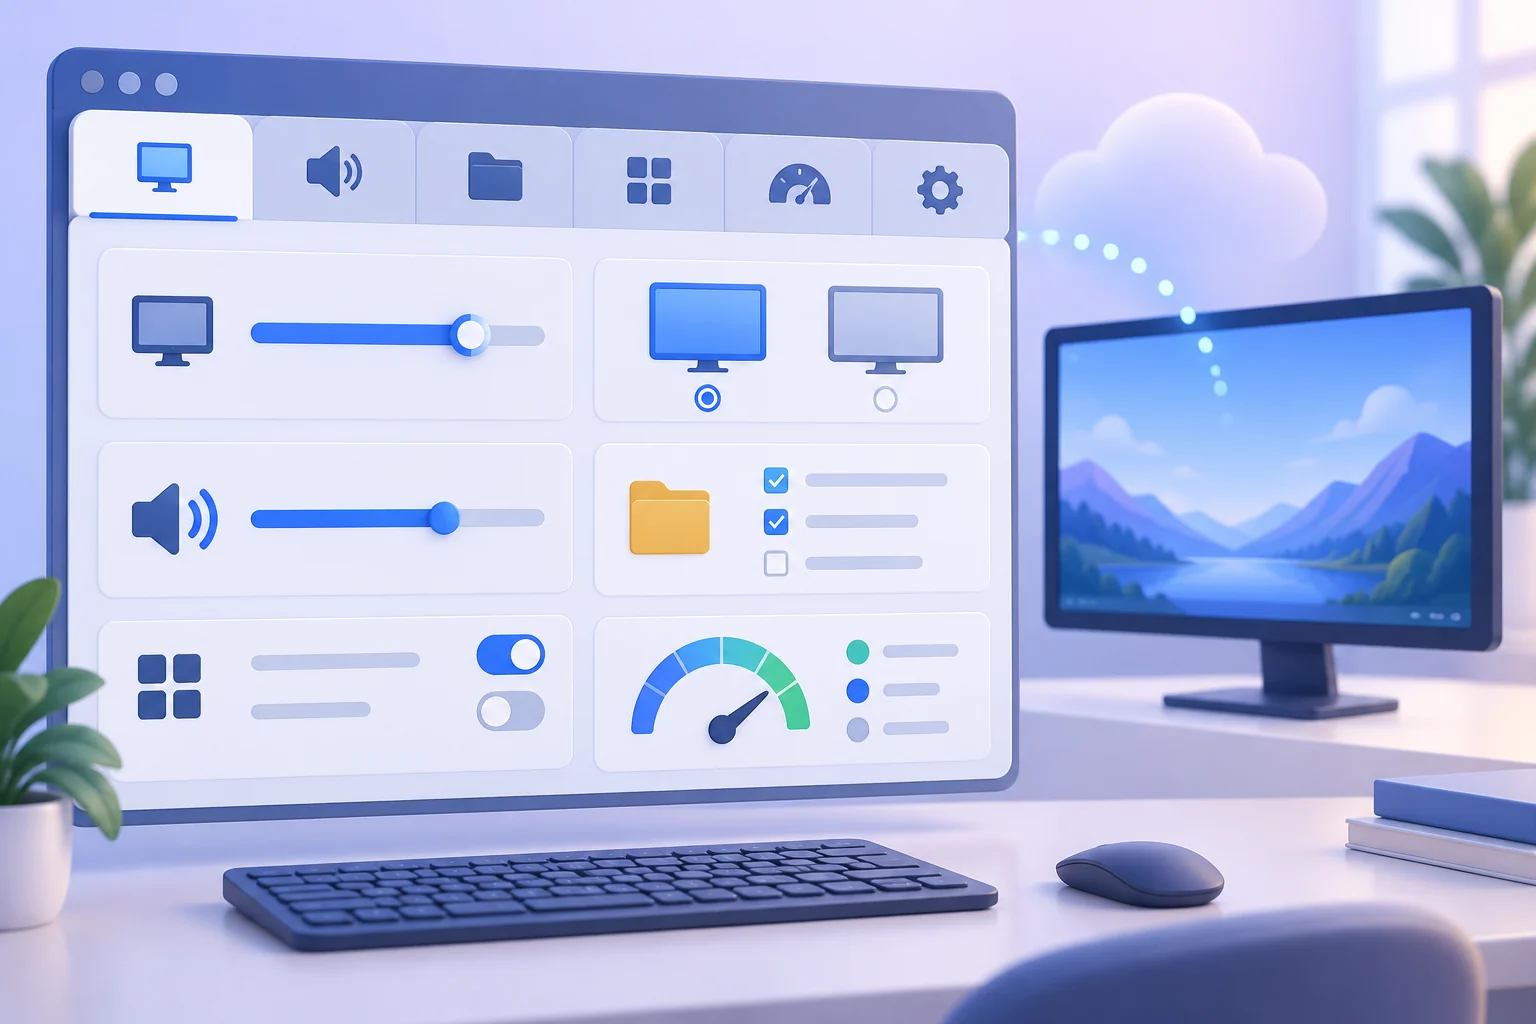
Where the Options Live: Show Options in Remote Desktop Connection
When the client first opens, it hides its depth behind a single Computer field. Click "Show Options" in the lower-left corner and the window expands to reveal five tabs — General, Display, Local Resources, Programs, Experience, and Advanced — that together govern every aspect of a remote desktop session. Most users never open them, which is a shame: fifteen minutes spent understanding these tabs turns a plain connection into a workspace tailored precisely to your hardware, your bandwidth, and your habits.
The General tab holds the essentials: the computer name or IP address, the username to prefill, and the beloved "Save As" button that writes all current settings into an .rdp file. That file is a fully portable connection profile — double-click it later and the client reconnects with your exact configuration, no re-entry of anything. Power users keep a folder of these files, one per machine they administer, and launch servers the way other people launch applications.
Display and Local Resources: Comfort Settings
The Display tab controls how the remote desktop appears on your screen. The resolution slider decides the size of the windowed session, the color depth dropdown balances fidelity against bandwidth, and the "Display the connection bar when I use the full screen" checkbox keeps the control strip within reach. Users with more than one monitor should tick "Use all my monitors for the remote session" — it restores the host's exact multi-screen arrangement across your own displays.
The Local Resources tab decides what travels with you. Remote audio can be played on the host, on your machine, or nowhere; clipboard sharing can be enabled so text and files paste across the boundary in both directions; and under "More" you can map local drives, plug-and-play devices, and supported PnP devices into the session as shares. For a daily work session, the combination of clipboard plus local drives is the single most productivity-enhancing configuration available in the client.
Programs, Experience, and Advanced Tabs
The Programs tab is a specialist's delight: specify a program to start automatically the moment the session connects, and optionally restrict the session to that program alone. It turns a general-purpose desktop connection into a focused application launcher — ideal for a single-line-of-business app or a quick support tool on a shared server.
The Experience tab is where slow links get saved. Choose your connection speed and Windows adjusts performance: it disables wallpaper, font smoothing, window animations, and visual styles to prioritize responsiveness. Let Windows choose is the safe default, but modem-grade profiles are still available for genuinely poor connections. The Advanced tab closes the loop: verify server identity with certificate warnings, connect through RD Gateway by supplying its server name and logon method, and configure server authentication behavior so a suspicious certificate stops you instead of waving you through.
Inside the .rdp File: Settings Without the Interface
Saved .rdp files are plain text, which means every hidden option is editable. Open one in Notepad and you will find settings such as screen mode id, desktopwidth and desktopheight, session bpp for color depth, redirectprinters, redirectdrives, and audiocapturemode. Each maps to a switch you could otherwise only set in the interface — and some, like bandwidth autodetection or specific redirection flags, are configurable only here.
The command line extends this power further: mstsc accepts an .rdp file as an argument, along with switches such as /admin to connect to a server console session, /multimon for all displays, /w and /h for exact window dimensions, and /public for shared-machine hygiene. These switches are the everyday vocabulary of administrators who drive dozens of machines, and they require nothing but the client you already have.
A Suggested Starting Configuration
If you want a proven baseline, configure it once and forget it: full screen with all monitors, clipboard and local drive redirection enabled, audio played locally, Windows key combinations applied in full screen only, and connection speed set to automatic. Save it as an .rdp file named after the machine, and your future self simply double-clicks. Once you have lived with a tuned session, open the client options on our Remote Desktop Connection homepage to see how these settings fit into the bigger picture of the tool, or dig into our other guides for shortcuts and security practices.